Hey, a smidge of Dr. Seuss-inspired thinking never hurt anybody. Moreover, while this article is dropping in May, I’m writing it during the holiday season, and I’m full steam ahead on a speed-train of hot cider and gingerbread treats, so loosen up. Now, where was I about the feet thing? The sugar coma is real.
Oh yes, your feet. Let’s kick it off with a question: When you ride your streetbike, do you ever give much thought to your feet? I don’t mean if they are cold, if they are comfortable, or if you think they look small when people, um, size you up. No, I mean do you use them to gain better control and comfort in slow-speed riding situations? Anyone?
No worries, have a gingerbread cookie and I’ll walk us through some footwork concepts while we initiate maximum carb-load protocol.
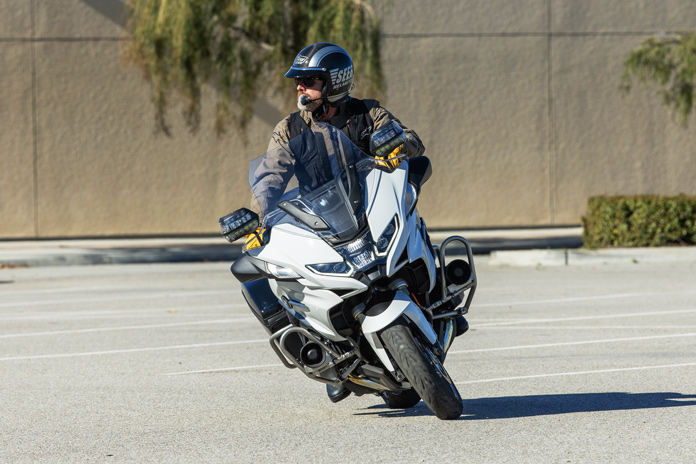
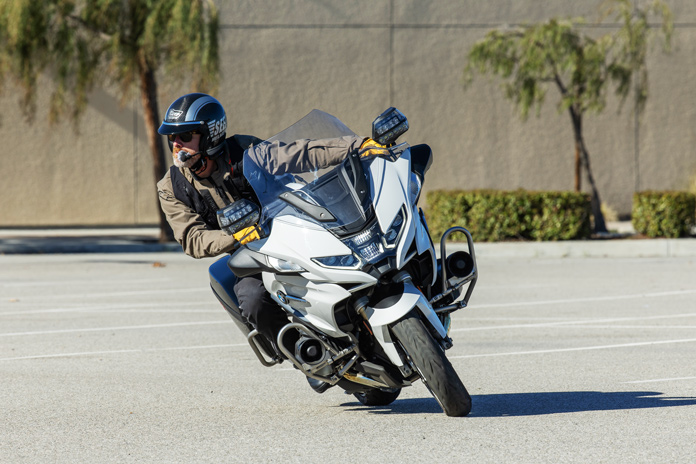
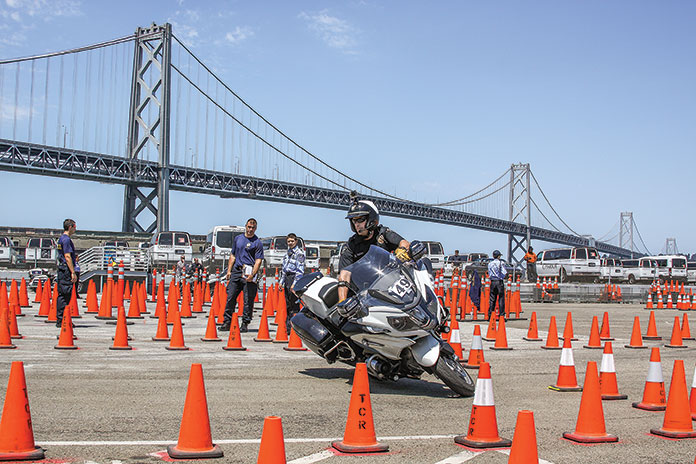
Now, if I’m known for one thing in police motorcycle competitions, it’s my extreme lean angles when I counterbalance. A close second is my ability to rapidly transition the motorcycle from one direction to the other. And while there are several techniques at play to make those things happen, a major contributing factor is how I use my feet.
No, I don’t expect you to sign up for any police motor competitions, but developing your footwork will provide you with a higher level of ability and control in street situations.
As discussed in last month’s column (“Which Way Do You Lean?”), when executing slow-speed turns, we benefit from counterbalancing, which “counters” the motorcycle’s weight as it leans over by simultaneously shifting our weight in the opposite direction of the motorcycle. But there are two fundamental challenges riders have with this technique: 1) they don’t counterbalance nearly enough, causing the motorcycle to fall in faster than they wanted yet not as far as would allow for a tight turning radius, and 2) they struggle getting the motorcycle out of the lean once they accomplish the turn they initiated. Not great. But dammit, these cookies sure are, right?
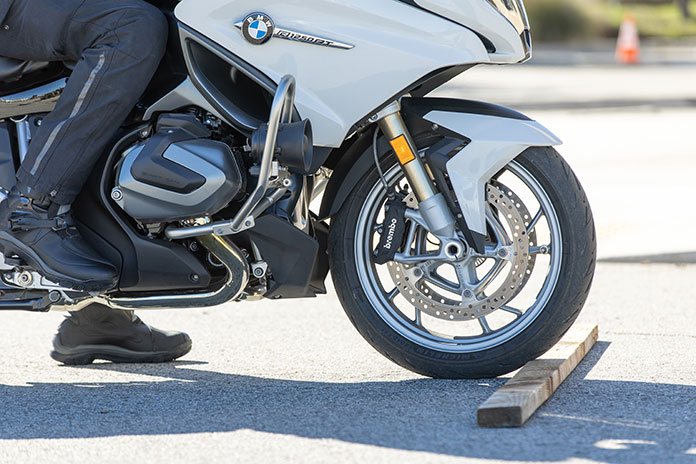
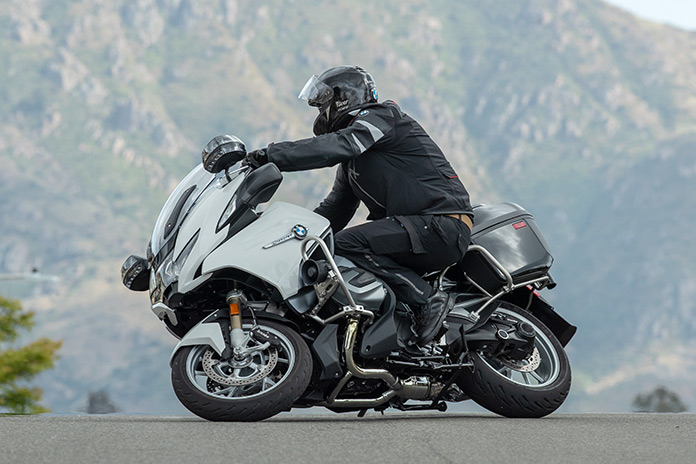
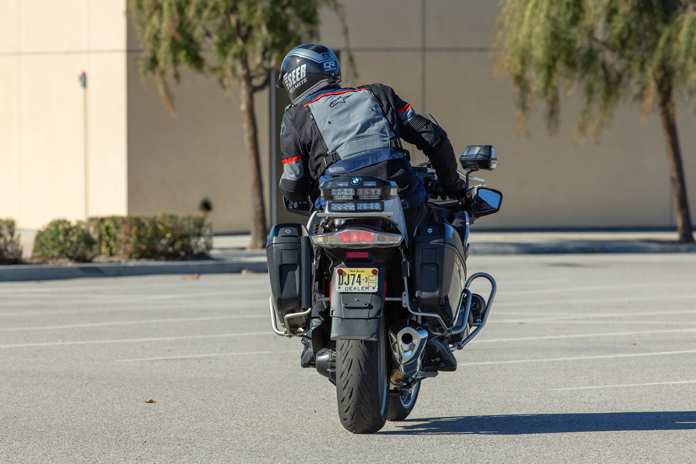
Here’s where my feet come in to save the day. When it’s time to initiate a tight turn and lean my motorcycle over, I use my inside foot to push down on the peg. This not only helps push the motorcycle over, but simultaneously generates a stable platform from which I can push myself into a greater counterbalance position. Imagine we are turning a tight right-hand U-turn. We start to lean the motorcycle over, and the inside peg, along with the seat and bars, are all falling over, causing us to feel as if we are going down with the ship. In other words, everything we are connected to is falling over all at once. But if we use our inside foot to press against the peg as it falls over, we generate force that stabilizes us in the counterbalance position and more easily leans the bike over.
One final benefit to employing our feet is for the exact opposite reason I’ve mentioned already, namely to pick up the bike once we complete the turn. How? By adding force to the outside peg at the right moment. Three more cookies and I’ll land the plane, I promise.
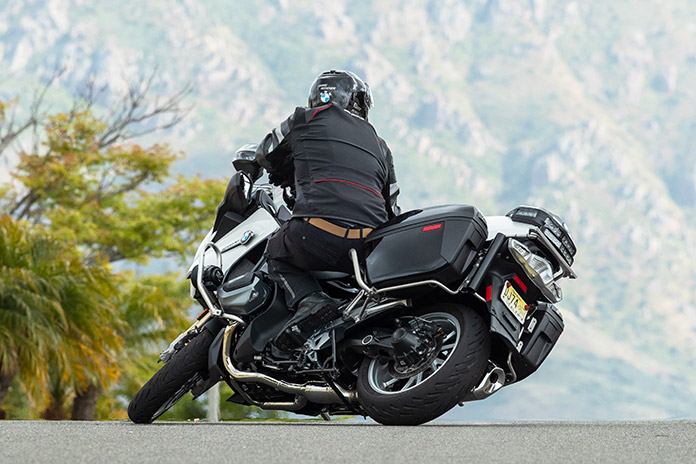
Weighting the outside peg is useful in two important ways. First, by generating force in the opposite direction of the lean via shifting pressure onto the outside peg, I’m helping the motorcycle stand back up. And second, I’m taking my bodyweight away from the overall mass that needs to be picked back up, which further helps get my heavy bike upright and moving in a new direction.
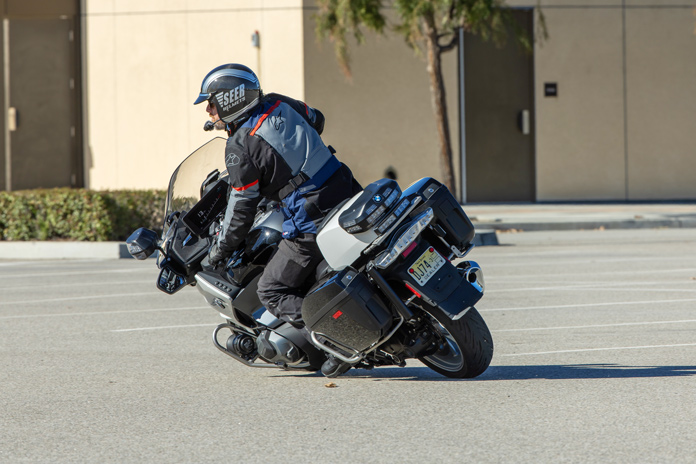
Here’s what this looks like. Say I’m dropped over in a slow, tight U-turn and I am now turned around and want to pull out of the lean. At that moment, I keep my body counterbalanced but concentrate my mass so that when I add pressure to the outside peg, I help lift the bike back up yet avoid “pushing” my bodyweight to the inside of the bike. Think of this technique in the same way as getting out of a car: You step one leg out, but before you add pressure, you ensure your weight is over the foot so you don’t simply fall back inside the car when you add force, then you press yourself up and out.
With your motorcycle leaned over, you place your weight over the outside peg and then press, causing both your leg force and lack of body mass to work together to upright the bike. And just like the car example, if you press without getting your weight over the peg first, you will push your body in the direction the motorcycle is already leaned over (causing you to “fall back into the car”), which will only make it harder to stand the bike back up. Do you need another cookie, or are we clear up to this point?
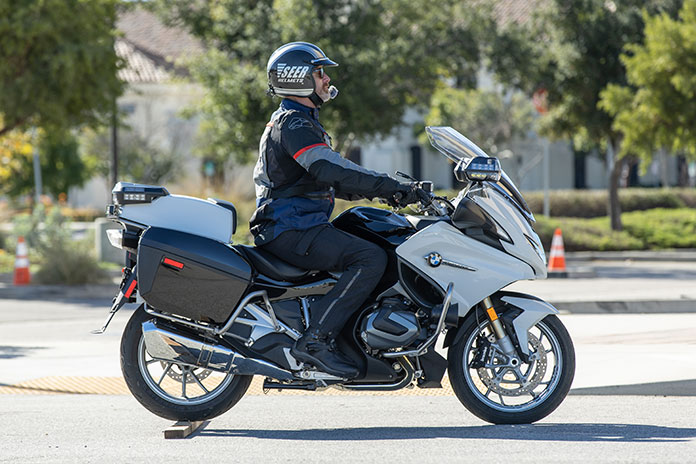
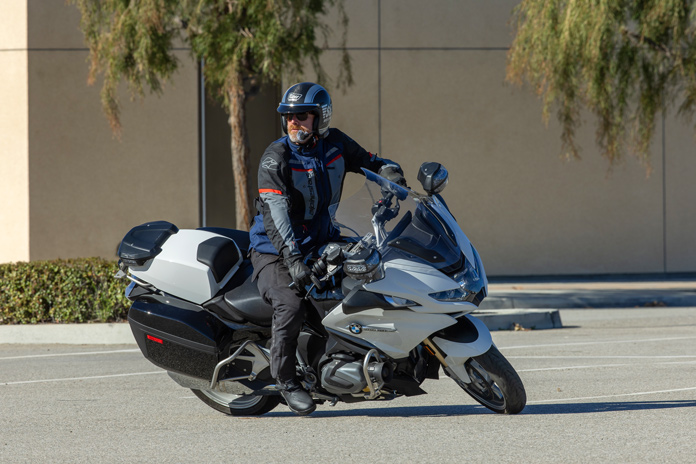
To get a feel for this, we’ll work some figure-8s to practice both the drop-in and pick-up components of the technique. With your bike in 1st gear, start riding a moderate-sized figure-8 pattern. You don’t need to slip the clutch here, just execute the pattern while staying smooth and relaxed. What you are looking for is awareness of what your feet are doing (or not doing) as you turn within the pattern. Let’s focus on your inside foot first, adding pressure on the peg to gain stability, help the bike lean over, and increase counterbalance range of motion.
Once you can employ the inside foot efficiently and confidently, isolate the outside foot. Concentrate on a stable, balanced push on the peg, making sure that the push doesn’t shift your weight toward the direction of the lean. Remember, you are helping the bike pick itself up here, so shifting your weight to the inside with a bad push only hinders this goal. Once you master it, put it all together.
This technique works just fine whether you have footpegs or footboards. Yes, footboards are farther forward, and you will need to rework your foot placement, but where there’s a will there’s a way. To see this lesson in action, go to Police Motor Training with Quinn Redeker on YouTube and look for “Foot Technique For Better Riding.”
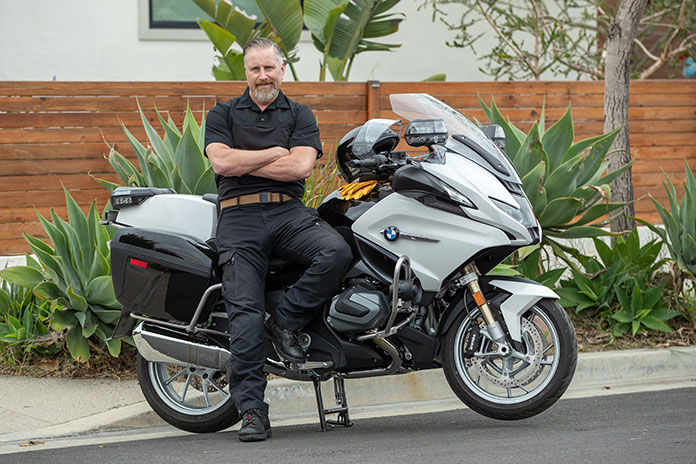
Find Quinn at Police Motor Training.
See all Motor School with Quinn Redeker articles here.
The post Motor School with Quinn Redeker: Left Foot, Right Foot, Heavy Foot, Light Foot appeared first on Rider Magazine.
Source: RiderMagazine.com