Tag Archives: Motor School

Motor School with Quinn Redeker: How’s Your Dismount?

Motor School Quinn Redeker How's Your Dismount?
If getting thrown into oncoming traffic or pinned under your motorcycle doesn’t sound super awesome, learn from the “Motor School” and embrace the “high side.” (Photos by Kevin Wing)

In my career, my police motor slammed the pavement exactly five times when deploying the kickstand and dismounting the bike. And yes, it was on par with that dream we’ve all had where you show up at school with no pants and all the kids laugh at you. Exceedingly embarrassing for sure, but thankfully I’m still alive and riding because every single time I dropped my bike, I was following the Golden Rule: “Always and forever mount and dismount your motor from the high side.”

That’s right, folks. It turns out there’s a correct side of the motorcycle to get on and off from, and it isn’t the side most of you use. Sounds ridiculous, right?

Now, I know you’ve successfully accomplished the task of resting your motorcycle on its kickstand thousands of times. Heck, you’re almost psychic when it comes to surface appraisal and road camber when you boot that stand out. In fact, you’re probably cursing me in your head, arguing that which side you mount or dismount from ultimately depends on where you park your bike or which hand is holding your Milk Duds. But in motor school, I learned the best way to get on and off a motorcycle: from the “high side.” 

Motor School Quinn Redeker How's Your Dismount?
Motor officers use the high side every time they get on and off because it works.

Perhaps it’s obvious, but in case I lost you, allow me to explain. For the most part, kickstands are deployed from the left side of the motorcycle. If you put your motorcycle on its kickstand, the bike will settle, or lean, to the left. Therefore, if you were to stand directly behind the bike, the “high” side is the right side of the bike, or the side where your throttle and front brake lever are located. Since the bike is leaned over on the stand, the seat is higher on the right side. Make sense?

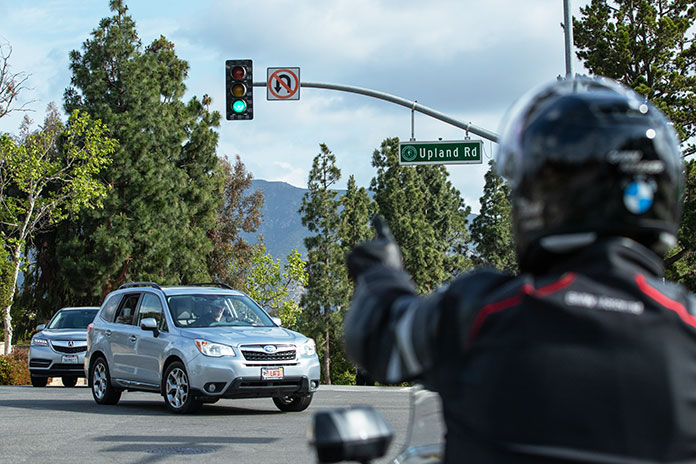
Keep in mind that all vehicles in the United States travel on the right side of the road, with opposing traffic on the left. Now, let’s imagine you are riding along and need to get that super tight blue sweatshirt that you love to show off out of your saddlebag. You pull to the side of the road, kick your stand down, and start getting off the bike. But on this particularly cruel day, your bike begins to roll off its kickstand, resulting in the bike falling to the left – or “low” side – and toward traffic. 

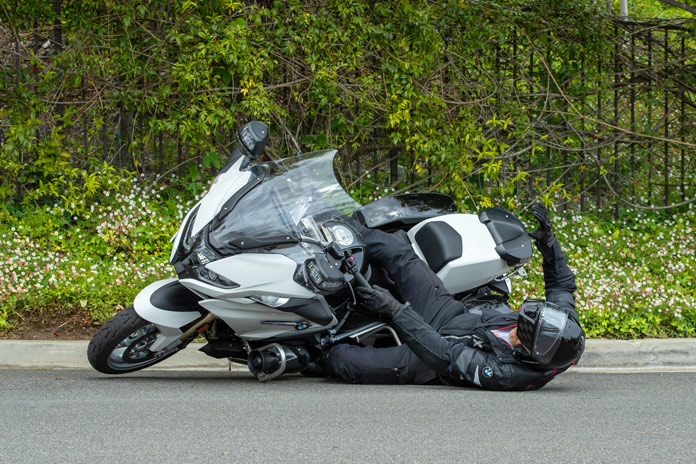
Adding chaos to the scenario, it turns out your right leg is the one with a wonky ACL and two meniscus surgeries, so you decided to plant your left foot on the ground and started your dismount on the left (low) side of your bike as it began to fall. Regrettably, your bike starts falling directly onto your one good leg, potentially knocking you into oncoming traffic as it wraps you up and takes you down with it. Not great.

Motor School Quinn Redeker How's Your Dismount?
The high side is the right side to avoid going down with the ship if your bike falls over.

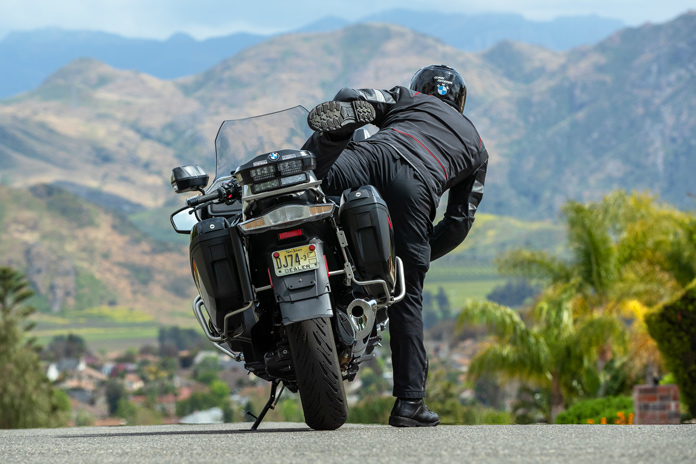
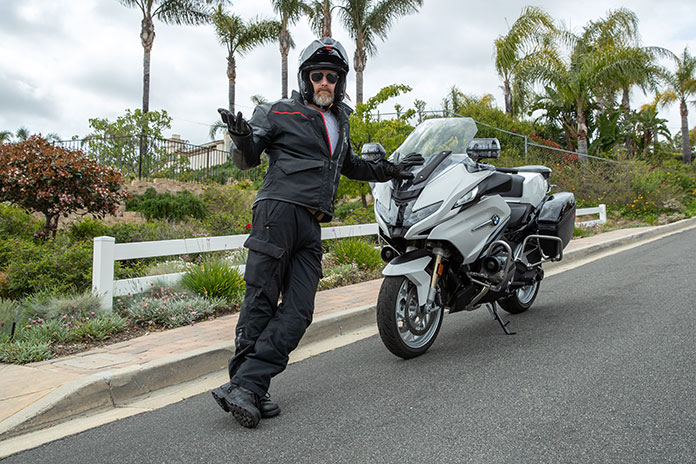
Now let’s put on our mirrored rainbow glasses and imagine you dismounted from the “high” side as your motorcycle started to fall off the kickstand. Not only will you look fabulous, but your right leg will remain planted so your left leg can gracefully swing over the seat like a gazelle’s, safely clearing you from the bike as it ponders what parts and pieces to destroy as it slams to the pavement. Embarrassing and costly? Absolutely, but pretty low risk to you physically.

The good news is this technique pays dividends not just when parked on the road but also in parking lots, your driveway, or anywhere else you throw that kickstand down. I can’t promise that your buddies won’t find some other reason to make fun of you, but like I’ve said a thousand times, you bring that crap on yourself.  

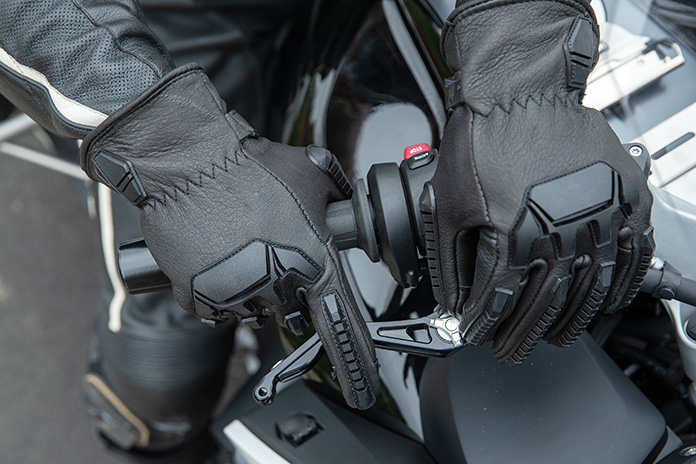
So, from now on, follow my little parking ritual: Shut off the bike, put it in 1st gear, deploy the kickstand, turn the handlebar full‑­lock left, gently ease the bike over onto the kickstand, and step off the high side of the bike. If you need a little assistance with your dismount, grab the front brake and use the handlebar for leverage. And while the process is simple enough, give it a few dry runs in the garage first. Practice makes perfect, though I can’t promise you won’t get weird looks from your friends.

Bonus Motor School Tips

As the late, great Billy Mays used to say, “But wait, there’s more!” Here are a couple more tips to help you out there on the street. 

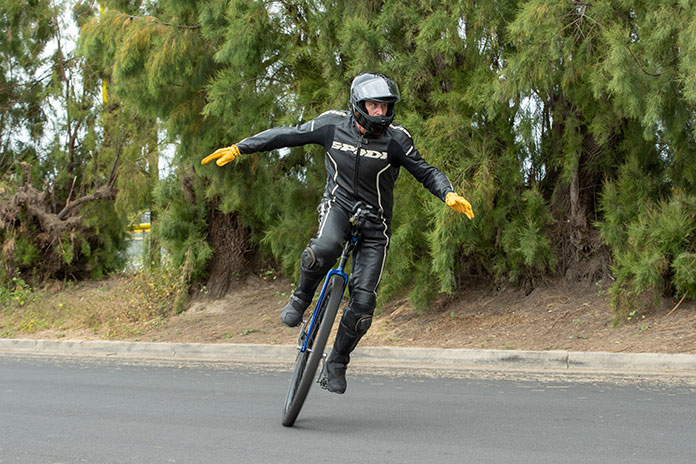
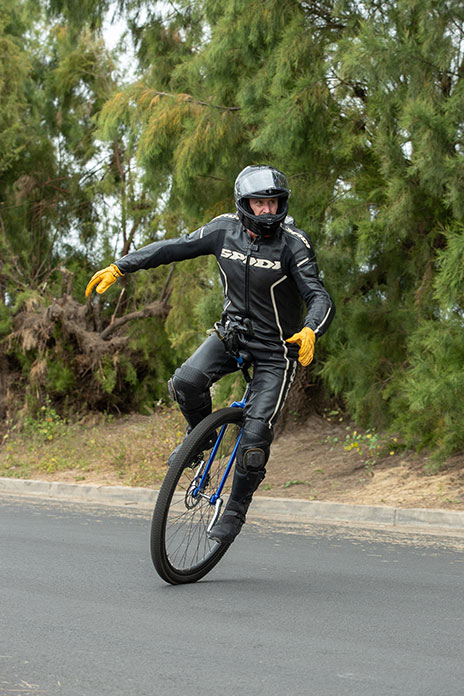
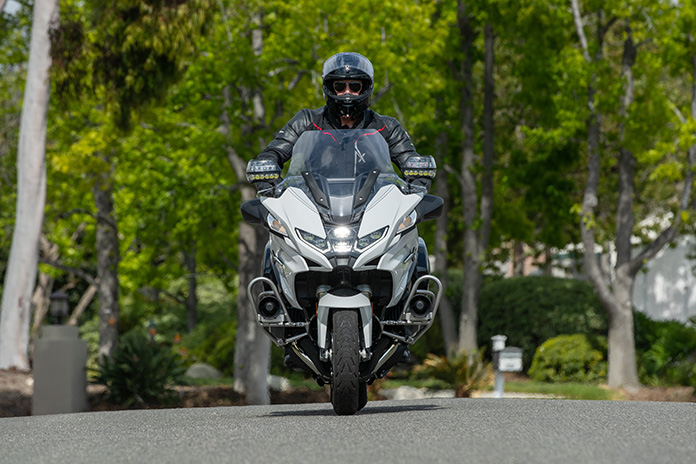
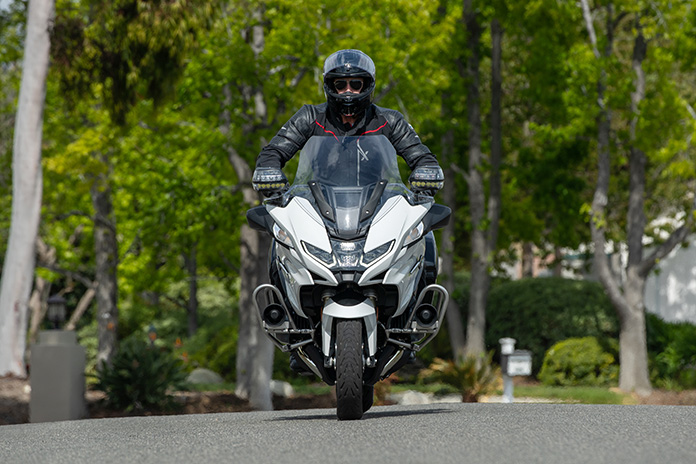
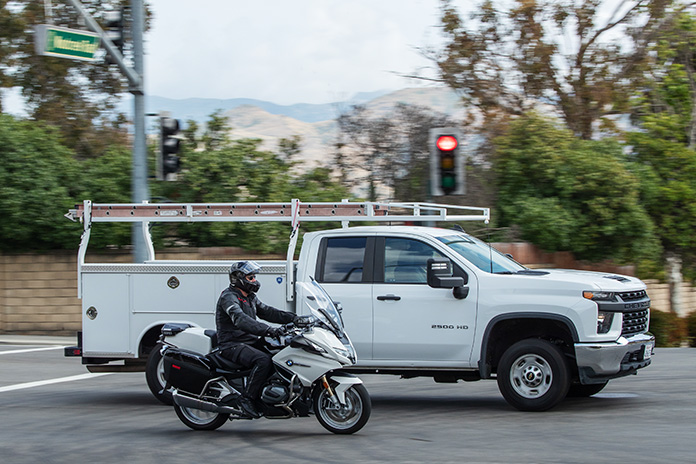
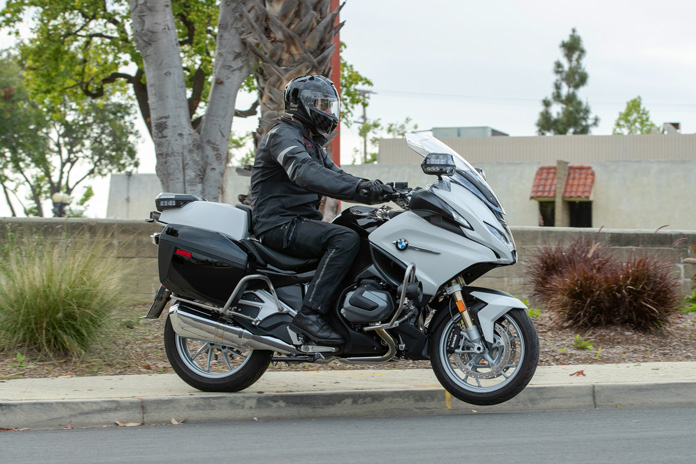
Curb appeal: If you find yourself in a situation where you need to ride your big heavy bike off a curb, accelerate off rather than tiptoe and duck walk the front wheel off the drop where the lower fairing, oil pan, or pipes could get smashed. I’m not suggesting you channel your inner Daniel J. Canary, the man who invented the wheelie, but ride off like you would accelerate from a typical stop: in a straight line with smooth, assertive throttle (as shown in the photo below). 

And yes, I know firsthand what a great tip this is because I once watched a fellow motor officer gingerly roll his new BMW R 1250 RT‑­P off a tall curb at a DUI checkpoint. After hearing a gut‑­wrenching pile‑­driver concussion, I watched as hot oil spewed out onto the pavement. Oof. 

Motor School Quinn Redeker How's Your Dismount?
It’s not if but when you’ll be faced with navigating a tall curb. Heed my advice and avoid immeasurable personal (and costly) anguish.

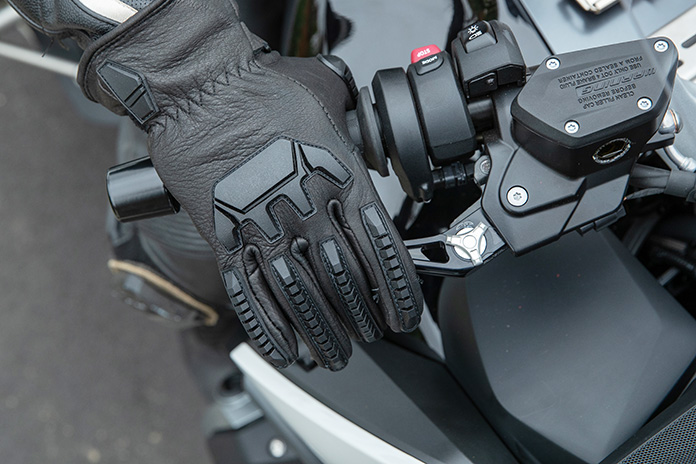
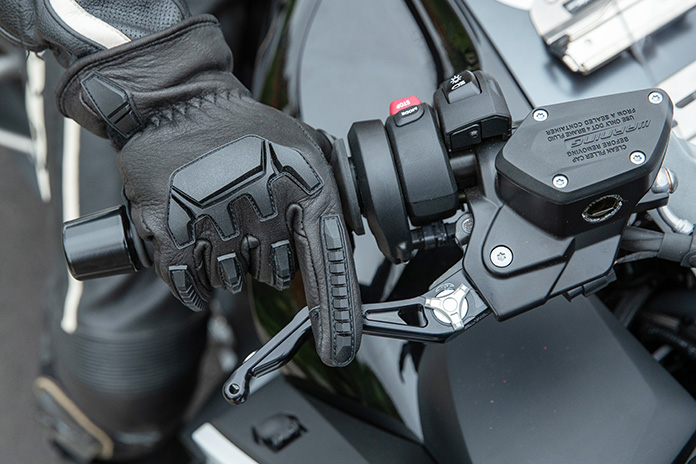
Brake time: If your bike has been sitting unridden for a while, be sure to work your brake levers and pump up the calipers before you take off. When I first heard this suggestion from an old motor cop, I laughed out loud. But then he walked me over to my bike, gently pushed on my front brake calipers with his boot, and asked me to grab the front brake lever. With a cocky gleam in my eye, I pulled the lever, only to have it bottom out at the throttle grip – the brakes didn’t work at all. Turns out the fluid in your brake calipers can be forced back into the master cylinder if bumped or pushed hard enough, causing the brakes to need some pumping up before they work again.

Find Quinn at Police Motor Training. Send feedback to [email protected].

See all Motor School with Quinn Redeker articles here.

The post Motor School with Quinn Redeker: How’s Your Dismount? appeared first on Rider Magazine.

Source: RiderMagazine.com

Motor School with Quinn Redeker: Ride Less and Ride Better

Motor School Quinn Redeker motorcycle balance
When Quinn Redeker tells you to “sit ’n spin,” it’s not an insult but rather a Motor School lesson. (Photos by Kevin Wing)

When I was 9, I spent every single day riding my dirtbike in the hills north of Los Angeles with all my delinquent buddies. Rain or shine, light or dark, we burned so much premix I’m pretty sure they will find traces of Golden Spectro two-cycle oil in my tissue if they ever do an autopsy on me.

But these days, I just don’t get seat time like I used to. Yes, I was a motor cop and rode with my buddies every day, but that was different because it was merely the platform for a host of other responsibilities: traffic enforcement, collision investigation, emergency patrol support, and so on. It lacked that element of exploration, freedom, and discovery you get when there are no strings attached.

And the worst thing? When I finally do get time to hit the track, tackle some challenging single-track, or sign up for a local club race, I have these painful moments of reckoning that my skills are nowhere near their peak. So there I am trying to enjoy an experience muddled by a crappier version of myself. I try to maintain a glass-half-full mentality, but I swear every time I take my eyes off that damn glass, it loses a little more water.

But I’ve been doing some proactive things around the house to slow the leak, and trust me, they’re helping. What types of things? I’ll give you a hint, they all revolve around one primary goal: improving my balance. I agree it’s a bit obvious and I probably won’t be doing a TED Talk on the subject, but without spinning a single lap, balance drills vastly improve my core strength, reaction time, breathing, on-bike focus, and indeed, my generally souring self-image. They can do the same for you.

Motor School Quinn Redeker motorcycle balance
It’s easier than it looks. Unicycles offer massive gains in balance despite occasional pointing and laughing from passersby.

What tools do I use for the job? I just finished my morning self-affirmation ritual, so now I can set my mirror down and go over them with you. They’re listed below, from easier and more accessible exercises to those that are more challenging and require some investment. A word of caution: While these exercises will surely improve measurable performance metrics and enhance your overall riding abilities despite less actual time in the saddle, they can also get you hurt. If, like me, you’re of a certain age, bones are easier to break, and muscles can get pulled just doing the dishes. If you question your ability to perform one of the activities listed below, err on the side of caution and skip it.

Spin Training: Crazy as it seems, all those wasted hours you spend spinning around in your office chair might just pay dividends. Here’s why: Spinning around in a circle increases your inner-ear activity, which, in turn, improves the information your inner ear feeds to your cerebellum. And it’s the cerebellum that controls movement, so better information (in the form of a more active inner ear) will improve your overall motor skills. To reap the benefits, you will need a swivel chair. The goal is to slowly increase your spin speed and number of spins over time. Start slowly and keep your eyes open. As you gain comfort, try it with your eyes closed for greater challenge and benefit. The good news here is that even if your riding skills don’t improve, at least you can feel like you’re doing something productive at work.

Motor School Quinn Redeker motorcycle balance
Who knew spinning around in circles could make you a better rider?

Balance Board: Using a balance board in the comfort of my living room and office has noticeably improved my balance, coordination, motor skills, and leg strength. And guess what? It all translates when I swing a leg over my bike. Instead of hunting for a used board on Craigslist, I recommend going with a new unit from a trusted manufacturer due to some boards being of questionable structural integrity. Mine is a Vew-Do El Dorado ($169.95 at VewDo.com), which is strong as hell and American-made.

Motor School Quinn Redeker motorcycle balance
Park your bike and grab your board. Balance boards improve your on-bike balance and control after just a few sessions.

There are plenty of YouTube videos to help get you started, but make sure you practice by holding on to a solid surface as you gain confidence and ability.

Slackline: More than any other tool, the slackline has been the best at improving my body control and breathing while I ride. If this is the only tool you employ, I feel confident in saying you will go from a midpack guy in your riding group to crushing all your buddies, including “Big Ronny,” the resident fast guy who still brags about his 10% racer discount back when he won a local Novice race. A slackline is a taut line tethered between two points, running a few feet off the ground and spanning 15-28 feet in length, or the approximate length of the sun-bleached jet boat in your neighbor’s yard.

Motor School Quinn Redeker motorcycle balance
Improved core strength and better body control are tangible benefits of regular slackline practice.

It’s fairly intuitive, but again, there are plenty of YouTube videos out there should you need coaching. As for recommended brand and setup, Amazon is your friend – you’ll find a variety of indoor and outdoor versions. Mine is just a long ratchet strap I got from a local hardware store and tied between two trees in the yard.

Unicycle: I get it. They look impossible to learn, and more importantly, you can’t imagine ever becoming one of “those people.” Get over it and pick one up on Craigslist for cheap. A 20- to 24-inch wheel will do fine, and you can watch some YouTube videos to learn. Within a few weeks, you will have balance like you’ve never had in your life, and trust me, it translates. Too old you say? I have buddies in their 70s that I bullied into riding unicycles, so borrow my mirror, hold it in front of your face, and repeat after me: “Yes, I can.”

Motor School Quinn Redeker motorcycle balance
It’s easier than it looks. Unicycles offer massive gains in balance despite occasional pointing and laughing from passersby.

I don’t want you to start feeling overwhelmed with any of this information, like I just dropped loads more work for you to do. We are having this discussion because both of us have less time to ride, so think of these tools as supplements. Any amount of effort on your end will pay dividends on the bike, so remain calm and bite off a little bit as you go. If it helps, I’ll even let you keep my mirror. 

Find Quinn at Police Motor Training. Send feedback to [email protected].

See all of Quinn Redeker’s “Motor School” articles here.

The post Motor School with Quinn Redeker: Ride Less and Ride Better appeared first on Rider Magazine.

Source: RiderMagazine.com

Motor School With Quinn Redeker: Motor (Sensitivity) Training

Motor School Quinn Redeker December 2023
In this installment of “Motor School,” Quinn encourages riders to try a little tenderness. The benefits of getting in touch with what your motorcycle is saying are massive. Don’t be shy, give it a try.

We’ve known each other for a little while now, so let me just come out and say it: Deep down, you’re a sensitive person. It’s no secret you get misty-eyed every time you watch Titanic. We all know it, and nobody thinks any less of you. It’s one of the things we really like about you.

When it comes to riding your motorcycle, however, where’s that same tenderness? Remember that early ’80s ballad by the Pointer Sisters about having a slow hand and an easy touch? I’m not saying you’re unsafe or dangerous; it’s just that when I watch you ride – mashing the controls and strangling the life out of the handlebar – it reminds me of a grizzled old garbage man beating helpless metal cans into submission as if he’s trying to settle all of life’s injustices. All that blind fury isn’t necessary, and it makes for a lousy ride up the coast.

Similar to your ability to get in touch with your emotions while watching a tearjerker movie, your riding would greatly benefit from cultivating a little more sensitivity to what your bike is doing beneath you. If you’re unable to truly connect with your motorcycle, you’re likely to miss cues and clues – some of which are quite subtle – that will give you better control and help you get more enjoyment out of riding.

Obviously, you understand the basics of using the throttle, clutch, and brakes, but how well do you listen to your motorcycle when it goes, stops, or turns? Are you sensitive to how your bike reacts when you demand action from it?

18th annual Barber Vintage Festival BMW Motorrad Days Americas Quinn Redeker
In this file photo from the 18th annual Barber Vintage Festival, BMW Authority Sales Ambassador and Rider columnist Quinn Redeker gives a demonstration of police‑­style riding.

Case in point: Watch a pro motorcycle racer during a track test. The mechanics will change engine mapping, suspension, handlebar position, chassis geometry, gearing, and about 7,000 other little things to help the rider find comfort, confidence, and cooperation with the motorcycle. Every top-level racer has an incredibly sensitive feel for the smallest changes made to the bike. One minuscule clicker adjustment on the rear shock can be detected after only a few corners, and the rider will provide feedback to the mechanics to let them know if they are headed in the right or wrong direction.

How is this possible? Simple. They listen to the bike. They tune in to subtle communications from the engine, chassis, and tires until they feel and understand what each is telling them. Armed with vivid, unfiltered feedback, they learn how best to squeeze the most performance out of the motorcycle. And guess what? They also pay attention to the environment, including track surface, changes in camber, weather conditions, and more. Racers are constantly in the moment and tuned in to everything around them, yet they are also able to block out distractions and noise to focus on what’s most important.

You don’t have to be a pro racer to get valuable results from sensitivity training. At Total Control Training, where I’m an instructor, we have a drill in our Advanced Rider Clinic that helps students become better “listeners,” thereby developing more sensitivity to the ebb and flow of their motorcycle’s behavior. But before I walk you through it, understand that repetition is key. Unlike your New Year’s resolution to use those cool stretch bands, which you abandoned after a week, you need to stick to the program if you want to see results. You can’t just do it once and complain that it didn’t work. Do it repeatedly, and before you know it, you’ll get there.

Find a smooth, flat, empty parking area where you can ride at least 200 feet in a straight line. From a stop with your bike in 1st gear, accelerate up to about 20 mph in a smooth manner that minimizes fork extension and rear-end squat. Then brake to approximately 5 mph, doing your best to minimize front-end drop. Accelerate to 20 mph again before coming to a complete stop, making a concerted effort to minimize chassis pitch from start to finish. (Note the subtle differences in the photos below)

Motor School Quinn Redeker December 2023
Take it slow when you go. Keep the chassis as composed as possible under acceleration. And listen. What is your bike telling you?
Motor School Quinn Redeker December 2023
Ease into the controls under braking. Feel the suspension and feel the tires. How well are you listening for feedback?

This drill gets harder as your acceleration and braking intensity increases, so start slowly and work up from there. See how sensitive you can be to the rising and falling of the front end, working to eliminate it completely.

Find Quinn at Police Motor Training. Send feedback to [email protected].

See all of Quinn Redeker’s “Motor School” articles here.

The post Motor School With Quinn Redeker: Motor (Sensitivity) Training appeared first on Rider Magazine.

Source: RiderMagazine.com

Motor School With Quinn Redeker: Cover Me, I’m on the Move

Motor School with Quinn Redeker covering brake lever
Police motor school orthodoxy says to use all four fingers when braking and to not cover the lever while riding. Is that the best approach? (Sumo glove from Lee Parks Design. Vario brake lever from Wunderlich America. Photos by Kevin Wing.)

Covering the front brake is a big no-no at most police motor schools across the country. By this, I mean resting any number of your fingers on the front brake lever when not actuating the front brake. Instead, instructors teach riders to keep all fingers on the throttle until you need the brakes, then all fingers on the brake lever. Having been exposed to lots of motorcycle riding disciplines over the last 40 years, I was always curious where this idea originated, as it seems odd not to have all my tools at the ready while riding.

I’ve heard different reasons from motor instructors over the years as to why covering the front brake leads students to eternal damnation. Here are a few:

  • Heavy police motorcycles require the strength of all four fingers to effectively slow down during an emergency stop.
  • Motor officers will panic and tense up in an emergency, inadvertently jerking the fingers covering the brake lever and causing a crash.
  • If you don’t have all four fingers squeezing the brake lever during a collision, the remaining fingers around the throttle could get pinned between the lever and the throttle, causing them to get crushed or severed.

To find a definitive answer, I decided to confer with my old pal Russell Groover out in Florida. A former motor officer and longtime instructor, Russell was instrumental in the creation of the first Basic Motor School used by the Tampa Police Department and later adopted by most agencies in the Southeast in the 1950s. As a youth, Russell grew up racing scrambles and competing in regional hillclimbs, and he was considered a sand specialist in his day, racing enduros down Daytona Beach on his military surplus 1942 Harley-Davidson 45ci. Yep, Russell is a genuine American bad-ass, and if I’m honest, it surprises me that he still takes my calls. But I digress. What did the Oracle tell me? 

“Well, Quinn, keep in mind bikes back then had clutches on the floor, shifters on the tank, and front brakes on the left side of the bars, so we were busy just getting through a work shift. All these bikes had basic cable drum brakes, and at best, they were lousy if you had them set up perfectly and the roads were dry. It wasn’t unusual to snap a brake lever pulling so damn hard trying to get the bike to slow down.” 

When I brought up the idea of covering the front brake with a few fingers in preparation for emergency braking, Russell just laughed and explained that it wasn’t even a consideration in anybody’s mind back then because even four fingers weren’t enough.

Motor School with Quinn Redeker covering brake lever
Adjust lever
Motor School with Quinn Redeker covering brake lever
Pulled lever should not touch fingers

My takeaway is this: A poor braking system demanded far more work (and more fingers) from the rider back then, so they instructed motor officers to access every bit of braking power they could muster, and the training manual reflected it. It makes sense given the antiquated systems they had at the time, but that was 1955. Unfortunately, even with the adoption of hydraulic disc brakes and riders no longer experiencing white-knuckle pulls trying to stop, motor programs have yet to update curriculums, as if we’re still living in the past.

Let’s pretend we’re in the future…say, 2023. You have a motorcycle with big brake rotors, powerful hydraulic calipers, and ABS. We’ll call this system “Brembo.” I know it’s crazy, but we’re talking about the future, so just go with me here. Let’s also assume that you always cover the front brake while riding your motorcycle.

Are these futuristic brakes strong enough to stop you with less than four fingers? Check.

By covering the front brake, are you minimizing your reaction time in an emergency due to your finger(s) being staged for rapid deployment? Check.

Will this enable you to perform smooth trail braking, creating a far more stable chassis during cornering? Check.

Will you now be able to smoothly overlap your controls transitioning from throttle to brakes, further stabilizing the motorcycle and generating better overall traction? Again, check.

Wow, I can’t wait for the future! 

Related: Quinn Redeker | Ep. 64 Rider Magazine Insider Podcast

If I haven’t been clear, let me come out and say it: I am a huge proponent of covering the front brake in all riding situations, on pavement and in the dirt. And dammit, if it were up to me, I would allow anybody in your riding group to smack your hand with a heavy ruler every time you failed to do it. 

I cover the front brake with my index finger alone and have all-day comfort, dexterity, leverage, and enough force to handle any situation, from gentle slowing to threshold braking. And if you’re wondering, my one finger provides enough pulling power on the lever to brake hard enough for my BMW 1250 RT-P’s ABS to kick in, rain or shine. 

Here’s the thing: Motorcycle riding takes loads of coordination, skill, concentration, practice, more practice, good judgment, and maybe even a dash of psychic ability. If you think that by covering the front brake, any unexpected event will overwhelm your senses and cause you to go “condition black,” blindly grabbing a handful of brakes and crashing in a panic, I suggest you consider scrapbooking instead of motorcycling. And because I’m supportive, feel free to use the photos we took of you skipping around in the butterfly sanctuary a few weeks back. 

So yes, covering the front brake it is! Great decision. And while this article is more about wrapping your head around the idea of covering the front brake than it is a how-to guide, let’s discuss a few details if you don’t currently employ this technique and want to time warp yourself back to the future.

First, let’s decide what finger(s) we will use. As I mentioned, I use only my index finger and can achieve effective and comfortable braking results on all but my old drum-equipped racebikes, on which I use only two. I recommend you let the overall strength of your braking system be your guide. 

We want to make sure we have constant contact with the lever regardless of throttle position so that at any time during the manipulation of your controls, you can effectively apply the front brake. This means the lever needs to be close enough to reach when you twist the throttle, yet far enough to have adequate travel for maximum braking force. A great way to check if your lever is set in a good spot is to give it a firm squeeze and see if it “cages” the remaining fingers you have wrapped around the throttle. In other words, we don’t want the lever to touch your throttle fingers when you apply the brake. 

Lastly, you need to familiarize your hand with this new way of interacting with your bike. My recommendation is to sit in your garage with your bike shut off and practice keeping your finger rested on the lever while manipulating your throttle throughout its range of travel. You should be comfortable with this in about the same amount of time it would take you to eat two large chimichangas with an ice-cold beverage. Pay attention to ensure you are manipulating your front brake at all throttle positions. If you can’t apply the brake at a moment’s notice, all is lost. 

Motor School with Quinn Redeker covering brake lever
One finger on lever, throttle closed.
Motor School with Quinn Redeker covering brake lever
One finger on lever, throttle open

Once you feel comfortable with this technique in a static setting, ride your bike at slow speeds in your neighborhood or an empty parking lot, working this drill over and over. Keep focus on smooth throttle roll on and smooth front brake application.

Now that you’ve heard my pitch, I’ll make a few assurances should you choose to put on your spacesuit and give this a try. I promise you a greatly increased sense of security, knowing you are ready for an emergency stop at any moment. More critically, your overall braking distances will decrease because your reaction times will improve significantly. And I guarantee you will feel more confident about yourself as a rider the moment you start covering the front brake. Call it Quinn’s win-win-win. 

Find Quinn at Police Motor Training. Send feedback to [email protected].

See all of Quinn Redeker’s “Motor School” articles here.

The post Motor School With Quinn Redeker: Cover Me, I’m on the Move appeared first on Rider Magazine.

Source: RiderMagazine.com

Motor School: What Does a Green Light Mean?

Motor School Green lights
Green lights look friendly but can’t always be trusted, but in this Motor School installment, riders are advised to be cautious and scan the intersection before proceeding. (Photos by Kevin Wing)

I’ll assume that most of you have quite a bit of motorcycle riding experience under your belt, and I bet you’ve logged some heavy miles and had a few near misses over the years. Given your vast experience, you’ve probably learned a few things along the way. Over the years of riding as a motor officer, I have managed to learn some habits that maybe you haven’t heard about and could benefit from.

Related: Motor School with Quinn Redeker: Hi, My Name is Quinn

This first one came to me via a salty old motor cop addressing a room full of other salty old motor cops, and it absolutely woke up the room. He asked, “What does a green light mean?” And while your brain, like mine, probably thought it means you have legal right-of-way to go through the intersection, this guy dropped a bomb and answered, “A green light means the bulb is working.”

Think about that for a minute: The bulb is working. That’s all it means. He went on to demand that we trust no traffic signal and remain colorblind, making damn sure to clear every intersection lane-by-lane before entering it. In the end, he made believers out of every one of us old motor cops: A light bulb has no mystical power to keep you safe. 

Motor School Green lights

From that day forward, I never went through an intersection without diligently assessing the cross-traffic during my approach. Had I not, on three separate occasions I would have been seriously injured or worse due to oblivious drivers blowing stale red lights. And if you are wondering, no, I didn’t let them off with warnings.

Related: Quinn Redeker | Ep. 64 Rider Magazine Insider Podcast

Other Motor School Intersection Tips

In addition to assessing each intersection before going into it, it’s also good practice to avoid being the first vehicle into the intersection. Think about it: How many times have you watched vehicles run the red trying to “make the light”? You don’t want to rip out there as soon as your light turns green, only to come face-to-face with Bruce The Crossfit King, hopped up on pre-workout caffeine on his way to The Box to smash some PRs. Better to slow your roll, assess, and then proceed. Let everybody else risk the wrath of Bruce.

Another habit? When approaching a green light, I speed up or slow down a little bit to pace next to vehicles headed in the same direction as me until I clear the intersection. It just takes a few seconds, and by having a nice big car or truck on my side, I have a “blocker” to protect me. Once out of the intersection, I go on about my business until the next one presents itself.

Motor School Green lights
Whenever possible, use a car or truck in the adjacent lane as a blocker when you ride through an intersection.

Although this next tip is not related to intersections, it has saved my skin more times than I can count. I worked traffic in the hilly beach town of Ventura, California, which means I made lots of stops on steep slopes. I was not interested in having my bike run away without me or roll off the kickstand during a traffic stop, so I always kept my bike in 1st gear as an improvised motorcycle emergency brake. My ritual consisted of clicking down to 1st, shutting the bike off, letting the clutch out, allowing the bike to roll forward and settle, then putting the kickstand down and stepping off into the great unknown. The settle part is key because the bike typically rolls a few inches after you let the clutch out, which can be just far enough to roll it off the stand and hit the ground. Ask me how I know this… 

Motor School Green lights
No need to be strong to rest your steed on an incline. Just put it in 1st gear, let it settle, and then drop the kickstand.

These are just a few ideas that might benefit you from time to time. For those of you who already know these things, thanks for listening politely as I preached to the choir. Most importantly, for all the elder statesmen out there who have, in one form or another, helped save my life, I leave you with this:

“When I was a boy of 14, my father was so ignorant I could hardly stand to have the old man around. But when I got to be 21, I was astonished at how much the old man had learned in seven years.” –Mark Twain

Find Quinn at Police Motor Training. Send feedback to [email protected].

See all of Rider‘s Tips & Tricks articles here.

The post Motor School: What Does a Green Light Mean? appeared first on Rider Magazine.

Source: RiderMagazine.com